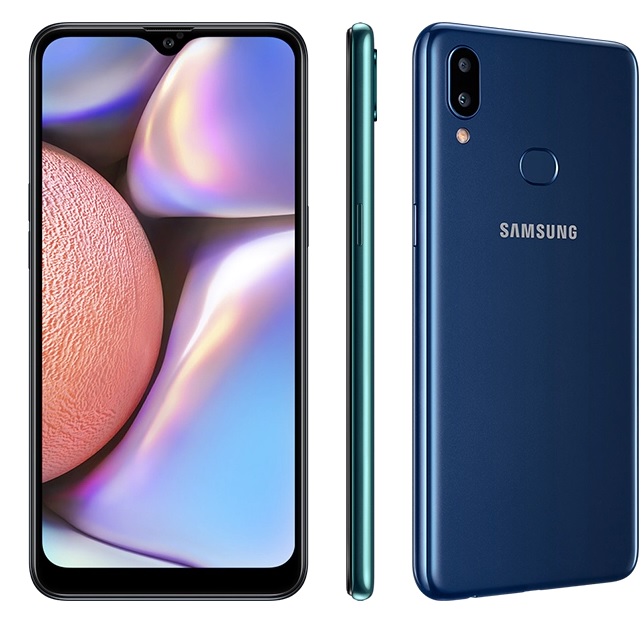
I am using a Samsung Galaxy A10s smartphone, and I am planning to do a factory data reset because a lot of storage is consumed with unnecessary apps and I am also getting messages such as Bluetooth Keeps Stopping. Therefore, it is a good idea to do a Factory Data Reset.
This action will reset your phone to its factory default settings. This will erase all data, including files and downloaded apps. Therefore, you must backup your existing data before executing this action. Backup might include your Contacts, your WhatsApp data, your Notes, and other stuff. I am done with the Factory Data Reset of my Samsung Galaxy A10s. I am listing my steps here. It will be a valuable resource for me in case I decide to do a factory reset at a later stage anytime. It will also be beneficial for the readers of this blog post who are also planning to do a Factory Data Reset of their Samsung Smartphones.
Samsung now offers a Smart Switch app to backup and restore data. This option is available under Settings -> Accounts and backup. When you tap Bring data from old device the first time, you will be asked to Download Smart Switch. However, the app does not backup WhatsApp chat history, which is one of the most valuable data for a smartphone user. Moreover, when the data is restored, the restore process installs all the previously-installed apps one by one. It is not a good strategy because one of these apps might be a source of the problem and reinstalling all these apps may come up with all previous issues again.
So, my recommendation is to back up the following five pieces of information only 1) Contacts 2) Messages 3) Notes 4) WhatsApp 5) Gallery. You should also note down the list of all apps that you will install after the factory data reset. You should download these apps fresh from Google Play or Galaxy Store instead of installing them from the backup. Now, I will tell you how to take a backup of these five pieces of information.
1. Backup of Contacts
- Contacts -> Menu -> Manage contacts
- Tap Import or export contacts
- Select Export
- Select SD card for export location
- Tap Export
- A message will appear: ‘Contacts.vcf has been exported to your SD card’
- Tap OK
- Tap My Files
- Tap SD card
- Tap the folder Download
- You will see the Contacts.vcf file in this folder. Check the date and file size to further confirm it.
- Now, copy this file on your laptop as well.
2. Backup of Messages and Call Logs
- Settings -> Accounts and backup
- Smart Switch -> External storage transfer
- Download and Install Smart Switch if you tapped the first time
- In Back up to, select SD card
- Select Custom
- Select See what can’t be backed up. The main thing that you will see is that WhatsApp chat history cannot be backed up.
- Tap Next
- Tap > under Calls and contacts
- You will see that the Call log and Contacts are selected. Clear Contacts because they are already backed up.
- Tap Done
- Tap > under Messages
- Select All
- Now on the main screen, make sure that Calls and contacts and Messages are selected
- Tap Back up
- You will see the message ‘Data backed up and encrypted using your Samsung account.’
- Tap OK
- A message will appear: ‘Sign in to your Samsung account so we can encrypt your backup data to keep it safe.’
- Tap Skip
- You will see Backup results on the next screen
- Tap Next
- Tap Done
- Tap My Files
- Tap SD card
- Look for the folder SmartSwitchBackup and Tap it.
- You will see the backup folder.
- Copy this folder on your laptop as well.
3. Backup of Samsung Notes
- Install Smart Switch on your PC from one of the following links: https://www.samsung.com/pk/support/smart-switch
https://www.samsung.com/us/apps/smart-switch
- Run Smart Switch on your PC
- Connect your Samsung Phone to the PC
- You will see two options Backup and Restore. Click Backup
- Deselect all backup items
- Then clink Apps
- Select Samsung Notes
- Click Backup
- You will see a message ‘Backup Completed’
- Click OK
- To view the backup folder location, select Preferences on the Home Screen by clicking three dots.
4. Backup of WhatsApp
- Click three dots on WhatsApp
- Tap Settings
- Chats -> Chat backup -> Back up to Google Drive
- Select Only when I tap “Back up”
- Choose an account for Backup
- Click Allow for providing access to WhatsApp Messenger
- In Back up over, select Wi-Fi or cellular
- You may choose to keep Include videos off because it will substantially increase the size of the backup.
- Also, note that End-to-end encrypted backup is set to off by default.
- Tap BACK UP
- A message will show ‘Pepraring Google Drive backup….’
- The next message will be ‘Uploading…’ where you can also view the total size of your backup
- When the upload is completed, you will see the backup time and size above the BACK UP button.
- If you want to view the backup:
- Go to drive.google.com
- At the bottom left, under ‘Storage’, click the number.
- At the top right, click Backups.
- Choose an option:
- View details about a backup: Right-click the backup and then Preview
- Delete a backup: Right-click the backup and then Delete backup
5. Gallery and SD Card
SD Card data is not deleted during factor data reset. However, you may also have some images, pictures, and videos saved on your phone. Therefore, you should check the Gallery for all the albums and copy the needed images and videos on your PC before doing the factory data reset.
Now the last step is to view all the apps installed on your smartphone and make a decision if you need to take any additional backup.
Now you have done everything. It’s time to do a factory data reset. Proceed as follows:
- Settings -> Accounts and backup -> Reset -> Factory data reset
- You will receive a message ‘You will not be able to use encrypted files on the SD card after you reset your device to factory defaults’.
- Tap Reset
- You will receive a message ‘Data that has been backed up to the SD card won’t be erased. You can restore SD card data using Smart Switch after the reset’.
- Tap Delete all
- First message ‘Shutting down’
- Then ‘Erasing’ (It will take some time)
- Then ‘Starting Android…’
- On the Welcome Screen, select English (United States) and tap Start
- Choose your Wi-Fi network
- Tap Next
- For Copy apps & data, tap Don’t copy
- Sign in with your Google Account
- In the Google Services screen, tap off ‘Back up to Google Drive’, ‘Send usage and diagnostic data’, and click Accept
- Tap Skip in ‘Protect your phone’
- Tap Skip twice in Google Assistant
- Clear Additional App from Samsung and tap OK
- Select all recommended apps from Samsung and tap Next
- Tap Skip in Samsung account
- Tap Finish
- Tap for Weather Info. and tap Agree to use current location
- Settings -> Display -> Screen timeout: Set to 30 minutes
- View Notifications to see the status of the Setup
- Google Play store will show ‘Setup complete’
- Configuration update will show ‘Setup complete’
6. Restore Contacts
- Contacts -> Menu -> Manage contacts -> Import or export contacts
- Tap Import
- Select Phone
- Select SD card
- Locate the Contacts.vcf file and select it.
- Tap Done
- Select Phone
- Tap Import
- A message will appear ‘Contacts imported’. Tap OK
7. Restore Messages and Call Logs
- Settings -> Accounts and backup -> External storage transfer
- Select the backup mentioned under ‘Restore from SD card’
- Select Everything and tap Next
- A message will display Done transferring your data
8. Restore Samsung Notes
- Connect Smartphone to the PC/Laptop
- Open Smart Switch on Laptop
- Select Restore
- Select Backup and click Restore
- A message will appear ‘All items successfully restored’. Click OK
9. Restore WhatsApp
- WhatsApp will look for backups when you open it first
- Tap RESTORE for the backup you want to restore
10. Gallery and SD Card
Data on the SD card including images and videos will not be erased during factory data reset. However, if you had some images and videos on your phone and you had backed them up, you can now copy them again from your PC to your phone.
When you fresh start the phone, you may see a message:
Dynamic Lock screen. Keep things fresh with a different image each time you turn on the screen.
If you want to disable this feature, then follow these steps:
- Settings -> Wallpaper
- Select Wallpaper services
- Select None
- Turn off Swipe left for info page
41 thoughts on “Samsung – Do this before Factory Data Reset”